Adding Interval Data |
|
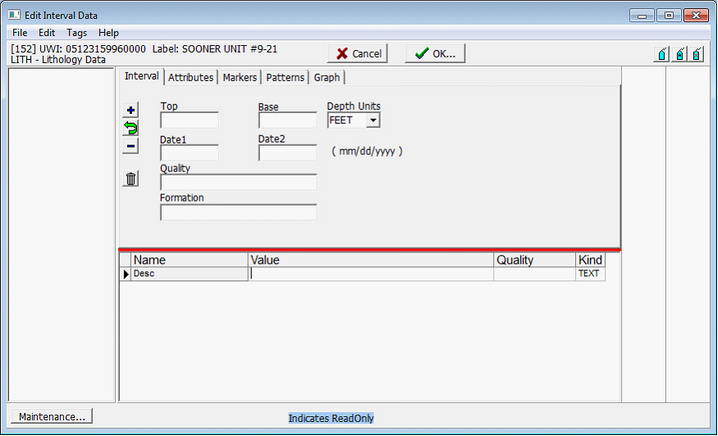
New interval data can be brought into Petra either manually or by a tabular data import. Adding New Data Manually To add new intervals manually, first select the correct well in the Main Module. On the Interval tab, select the right interval table. In the example below, the LITH table is selected. Finally, select the Edit details button in the upper right on the Interval tab. This brings up the Edit Interval Data window for the selected interval table. Continuing with the example, the Edit Interval Data window below shows the fields for only the LITH table.
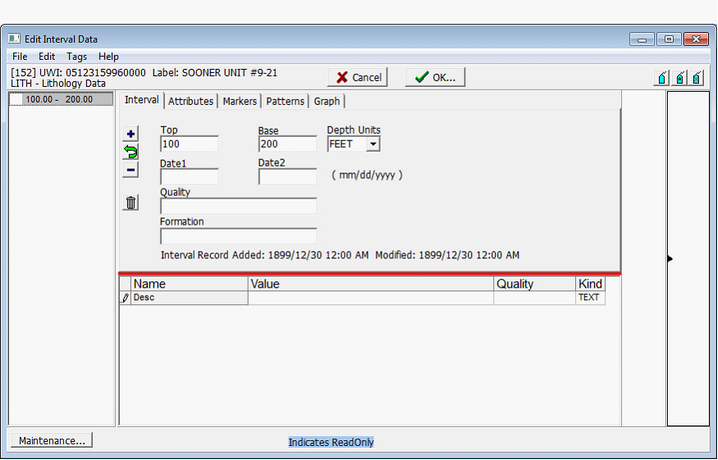
To add a new interval, enter in the Top and Base. Next, select the
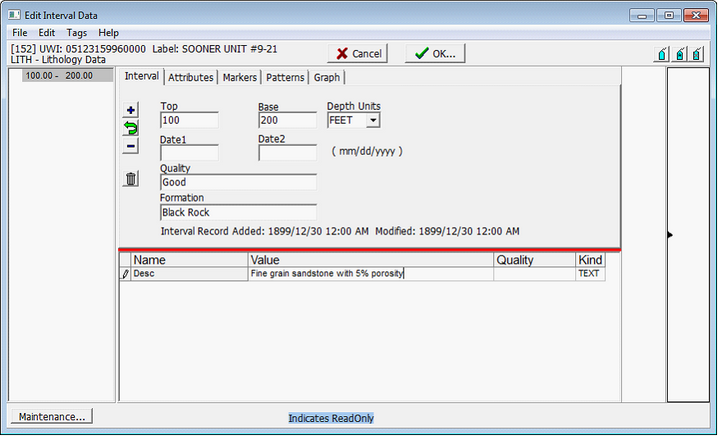
With the interval now added, enter in the remaining interval details and select
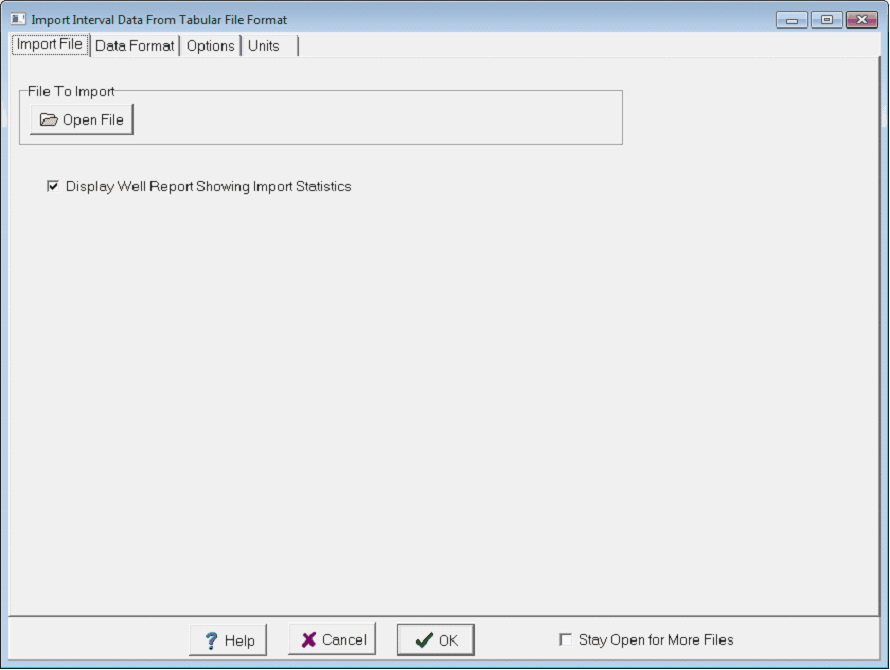
To save the changes to the database, select OK. Here, Petra gives the option to save or discard ALL changes made to the selected wells interval table. All the edits to all intervals will be ignored if you select CANCEL. Importing tabular Interval Data Digital data where each row contains information about a discrete interval can be easily imported into Petra. Before attempting to import interval data, check to see if the data has a column dedicated to the UWI/API. Since Petra assigns interval data to specific wells by comparing UW/API numbers, interval data without an identifying API/UWI column cant be imported. The easiest way to remedy this is to simply open the interval data in a spreadsheet program, and add a new column for well UWI/API. To import new digital interval data, select Project>Import>Import tabular Interval Data on the menu bar at the top of the Main Module. This opens the Import Interval Data from tabular File Format box. Here, select the Open File button and navigate to the interval datas location.
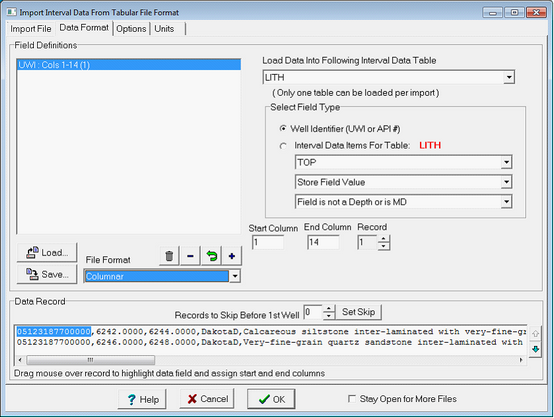
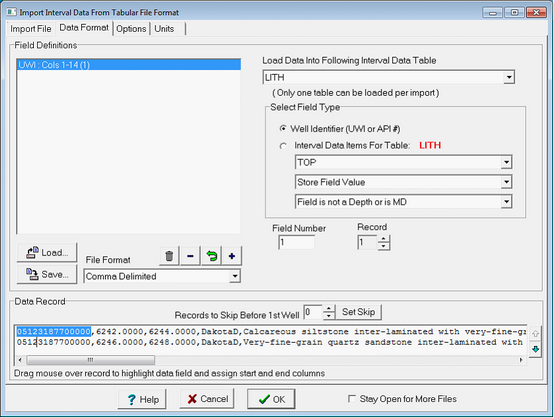
Once the file containing the interval data is opened, Petra switches to the Data Format tab. This tab essentially links the entries in the file to specific kinds of data. The first step is to select the interval data files formatting under File Format. Files can be imported into Petra in one of three formats: Columnar, Comma Delimited, or ~ Delimited. Columnar data organizes data into fixed columns, where Petra imports data based purely on the number of characters from the left. The left screenshot, on the other hand, shows the API number as defined by columns 1 through 14. Comma and ~ delimited data, on the other hand have no fixed column size and are instead separated by a comma or a tilde. With delimited data, Petra imports data based on the Field defined by the delimiter. The example below shows the same UWI/API field defined in two different ways. The right screenshot shows the API number defined as Field (1), i.e. it is separated by the first comma.
Be careful when importing text as a comma delimited file. If the text has a comma in it, Petra will read that as the end of the field. The interval data stored as UWI, Top, Base, Description such as: 05123187700000, 6295, 6998, Calcareous, micaceous, clay-rich siltstone Would only be imported as: API: 05123187700000 Top: 6295 Base: 6998 Description: Calcareous In other words, all the description past the first comma is cut off. This can also cause bad imports when data is beyond the comma-filled text. The next step is to establish field definitions. Essentially this step defines which part of the file is which kind of interval data. The easiest way is to select and highlight the specific data field in the Data Record part of the screen, then select the type of interval data on the left. Petra can import fields for any interval table. In order to put interval data with the correct well, the UWI or API # field must be defined. When loading the TOP and BASE of the interval, Petra assumes that the depths are in MD. To import other depths, such as SS or TVD, select the appropriate depth on the Field is not a Depth or is MD dropdown when establishing a field definition. For user-defined fields (Not the TOP, BASE, DATE1, DATE2, QUALITY, FM NAME, UNITS fields), Petra can store a quality code. To import the quality code, select the Store Field Value dropdown menu and set it to Store Field Quality Code. To add the field definition, select the + button. The - button drops the selected field definition. To modify an existing field, make the appropriate changes and select the
The example below shows field definitions for the data file, which include the well API, interval top, interval base, formation name, and description.
To save the field definitions and options, select the Save button. This option saves a *.FMI file. Selecting the "Load" button restores all the saved settings. Most data files have some header or comments at the top. The Records to Skip Before 1st Well option tells Petra to skip a set number of lines before importing any well data. Click the "Set Skip" button to set the number of skipped records based on the record currently in the data record window, |