Reordering tables & Fields |
|
By default, interval tables show up in the order theyre created. Especially in large multi-discipline, multi-user projects with many different kinds of data, its often useful for a user to reorder and filter the interval tables to only show relevant data. To reorder the Interval tables, select the Order... button on the Interval tab on the Main Module. This brings up the Filter Interval Data table Names box. Here, use the > button to bring a single selected table from the Available Internal table List on the left to the Filtered Interval table List on the right. The >> button brings over all available tables. Once on the Filtered Interval table List, use the up and down arrows to change the order of the shown tables. tables at the top of the list will be shown before tables on the bottom of the list. To drop a selected table from the Filtered list, select the < button, and to drop all tables from the filtered list, select the << button. If there are any tables on the Filtered Interval table List, only those tables will be shown.
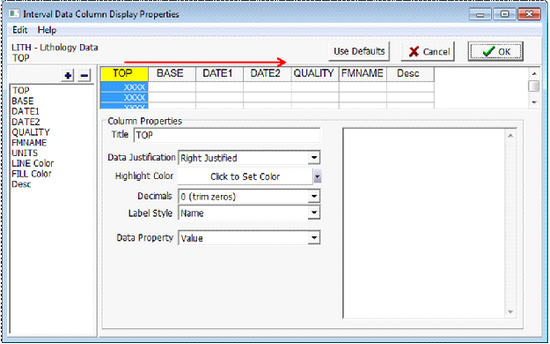
Reordering and Hiding FieldsBy default, interval fields show up in the order they are created. To reorder the Interval fields, select the desired table and select the Columns... button on the Interval tab on the Main Module (highlighted on the left figure below). This brings up the Interval Data Column Display Properties window. This screen shows the list of the tables available fields on the left, the displayed fields on the upper right, and the selected fields properties are shown in the lower right. This window changes the order of the displayed fields, hide and show specific fields, and changes field properties.
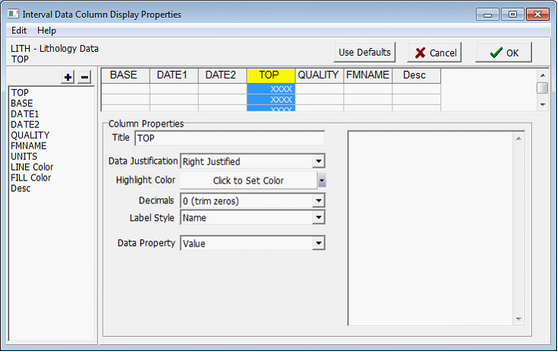
Reorder the specific fieldsTo reorder a field, select the column at the top of the screen and drag it to the desired position. In the example below, the TOP column has been dragged to be before the QUALITY column.
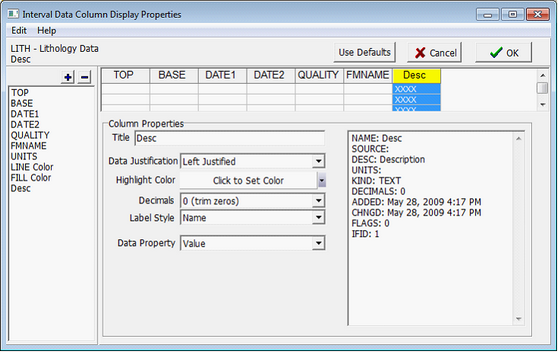
Hide and show specific fieldsTo drop a specific field, select the column at the top of the screen and select the - button. To add a specific field, select the field name from the list on the left side of the window and select the + button. Change the field propertiesThe Column Properties on the lower right shows name, justification, shown decimals, the label style (Name or Name and Units), and the data property (Value or Quality). Changing these settings changes how the selected field will be shown.
|