|
The Log Correlation Tool can show one or more color-filled intervals representing "pay" zones. Though most often used for illustrating zones of productive reservoir, you can use pay zones to show anything that has a top and base. Pay zone intervals and thicknesses can also be stored to a data item in the Zone database. Once stored as a data item, these thicknesses are available for posting or contouring.
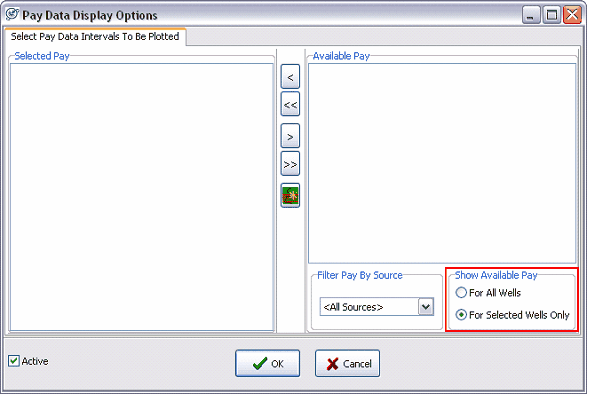
To display pay intervals, select the "Pay" option under the Picking Type Option then click the "Select Pay" button on the guide (highlighted in red). This opens the Pay Data Display Options screen.

This screen shows pay zones already in the project, and can be filtered to show either pay intervals for the selected wells in the Log correlation Tool or to show the pay intervals for all wells in the project. These pay intervals can also be filtered by the source.
In the example below, notice that the option for showing pay "For Selected Wells Only" (highlighted in red) is turned on. Since none of the selected wells have any pay selected, nothing appears in the "Available Pay" window.
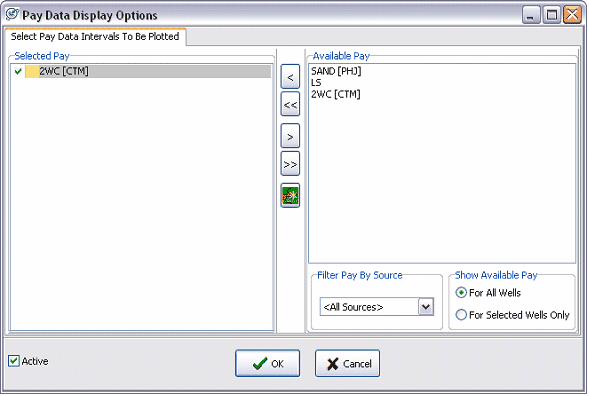
In this example, a 2nd Wall Creek pay interval already exists in the database. Changing "For Selected Wells Only" to "For All Wells" displays all the pay zones in the project. Notice in the example below that there are pay intervals both for lithology ("LS" and "Sand") as well as for actual reservoir pay ("2WC"). To display a pay interval, select it on the Available Pay list and click the "<" button to bring it over to the Selected Pay list on the right. To enable editing on the pay zone, make sure to select the small checkbox to the left of the pay zone's name. A green check, like that shown in the example below, signifies that the pay interval can be edited.
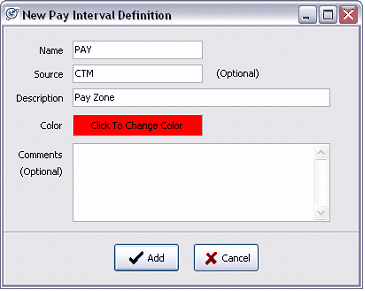
To create a new pay interval, select the
 button on the Pay Data Display Options window. This brings up the New Pay Interval Definition box. Enter the name, source, description, and color of your pay zone. Select "Add" to add the pay interval to Petra's database. button on the Pay Data Display Options window. This brings up the New Pay Interval Definition box. Enter the name, source, description, and color of your pay zone. Select "Add" to add the pay interval to Petra's database.
Pay Picking Mode
To switch to picking pay intervals, select the "Pay" option under Step 5 on the Guide.

This changes the Quick List to show the Pay Intervals toolbar.

Begin Picking:
 After selecting the appropriate pay interval, left click once in the appropriate location on the wellbore to create the top of the pay interval, and again to create the bottom. To continue picking wells across your cross-section, simply click on the appropriate depth on other wells. Petra will draw a hatched box covering the interval, as shown in the example below. This hatching indicates that the pay intervals are not saved to the database. When finished, right click the mouse button. After selecting the appropriate pay interval, left click once in the appropriate location on the wellbore to create the top of the pay interval, and again to create the bottom. To continue picking wells across your cross-section, simply click on the appropriate depth on other wells. Petra will draw a hatched box covering the interval, as shown in the example below. This hatching indicates that the pay intervals are not saved to the database. When finished, right click the mouse button.
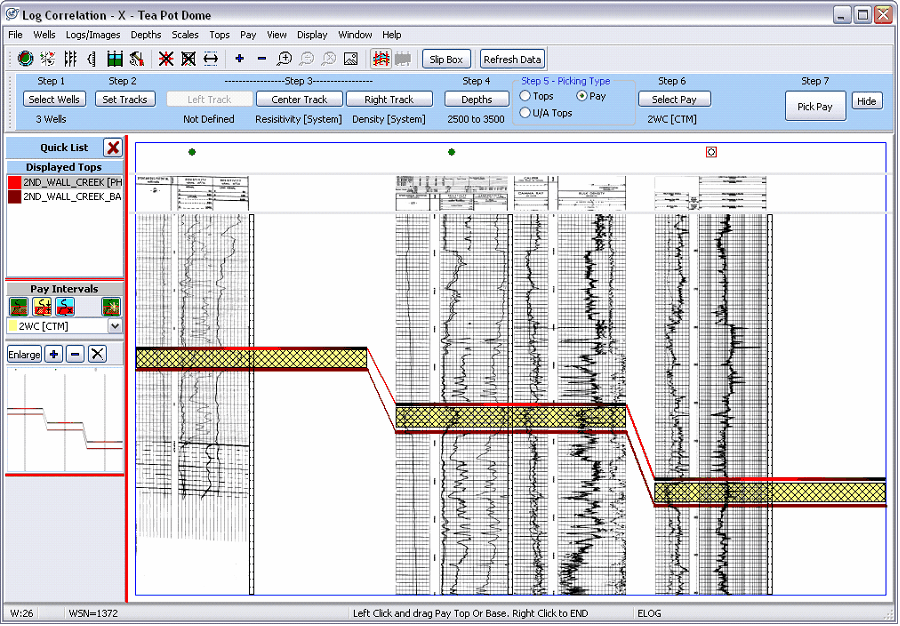
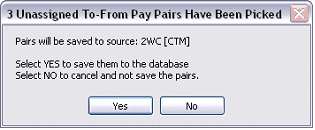
This brings up the option of saving the new pay intervals to Petra's database. Selecting "No" will erase all unsaved pay picks. In other words, if you make 25 correct pay picks in a row followed by a single bad one, make sure to select "Yes" and go back to fix the bad pick. Selecting "No" will erase all the unsaved good picks as well as the single unsaved bad one.
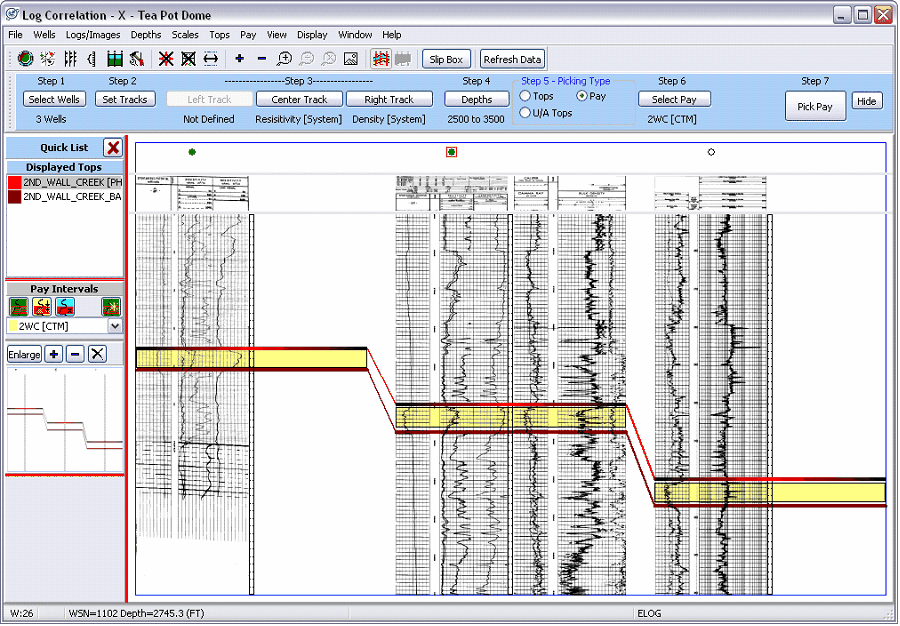
Once saved, the hatched lines on the pay intervals disappear to signify that the pay intervals are stored to Petra's database, as shown in the example below.
Move Picks:
 To move pay picks, select this button. Left click the top or bottom of a pay interval and drag it to the new location. The pay interval will be hatched to show that the changes haven't been saved to the database. When finished, right click the mouse button. This brings up the option of saving the new pay intervals to Petra's database. Selecting "No" will leave all unsaved pay picks unchanged. To move pay picks, select this button. Left click the top or bottom of a pay interval and drag it to the new location. The pay interval will be hatched to show that the changes haven't been saved to the database. When finished, right click the mouse button. This brings up the option of saving the new pay intervals to Petra's database. Selecting "No" will leave all unsaved pay picks unchanged.
Delete Picks:
 To delete picks, select this button and left click inside the pay interval. When finished, right click the mouse button. This brings up the option of saving the new pay intervals to Petra's database. Selecting "No" will cancel all unsaved pay deletions, leaving the pay picks unchanged. To delete picks, select this button and left click inside the pay interval. When finished, right click the mouse button. This brings up the option of saving the new pay intervals to Petra's database. Selecting "No" will cancel all unsaved pay deletions, leaving the pay picks unchanged.
Create New Interval Name:
 This brings up the New Pay Interval Definition screen. Enter the name, source, description, and color of your pay zone. This brings up the New Pay Interval Definition screen. Enter the name, source, description, and color of your pay zone.
|