|
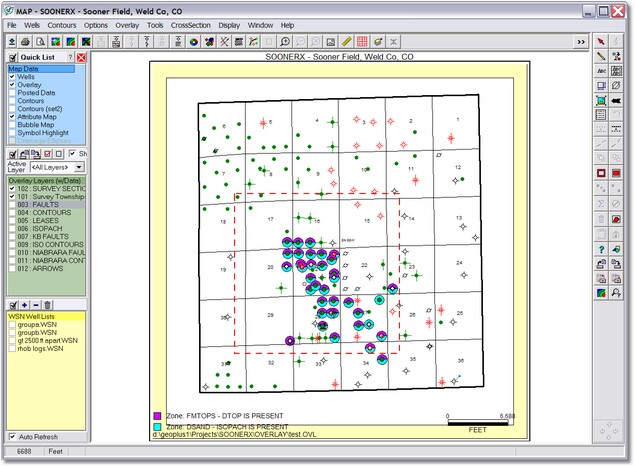
The following illustrates the procedure to select an area containing only 9 sections and limiting data to only plot inside the 9-section plat.
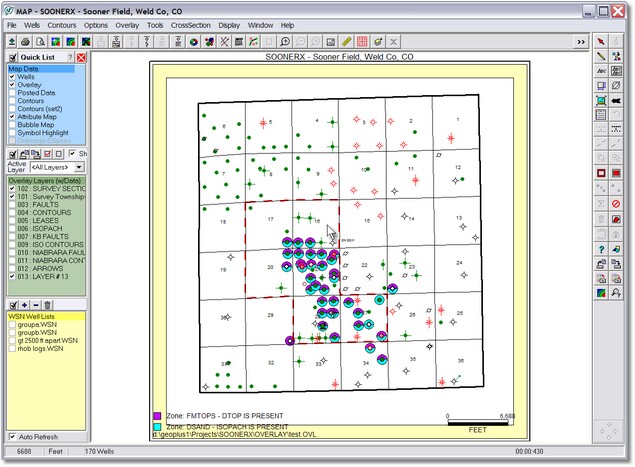
1) Original map area limits showing 9-section plat area (in red).
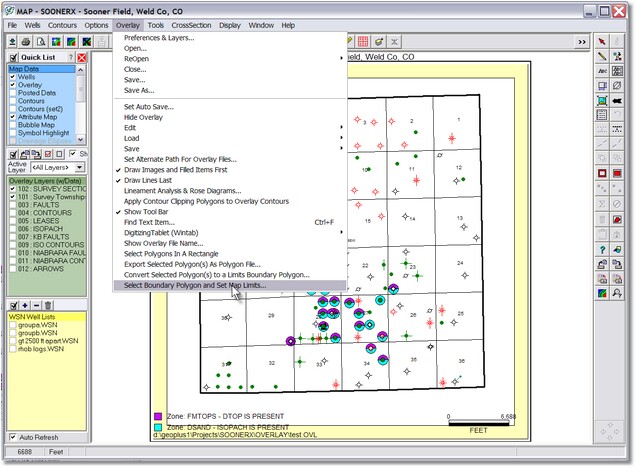
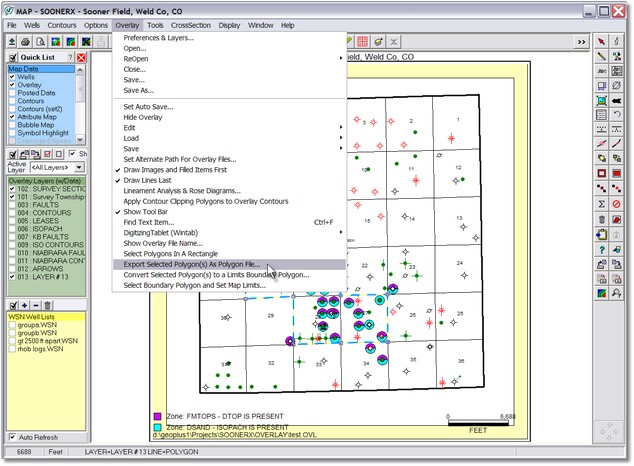
2) Overlay menu showing option to select a "boundary polygon"
3) Select "9 section" area using a rectangle. You must include ALL points of the sections to be included.
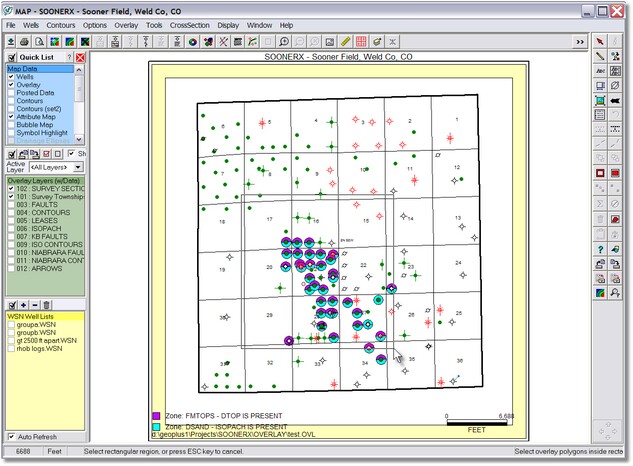
After selecting the rectangle, the 9-section polygon area is outlined in red and you are given the option to keep it or not. If you keep the polygon, you are prompted to save the polygon to a "boundary polygon (.PLG) file and the map in #4 below is redraw.
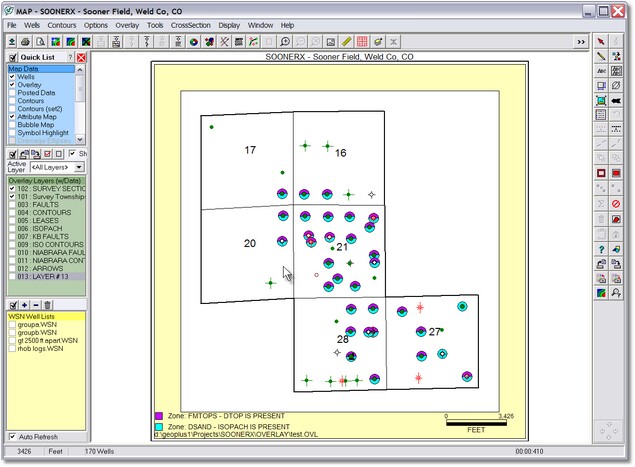
4) Resultant "clipped" 9-section map area.
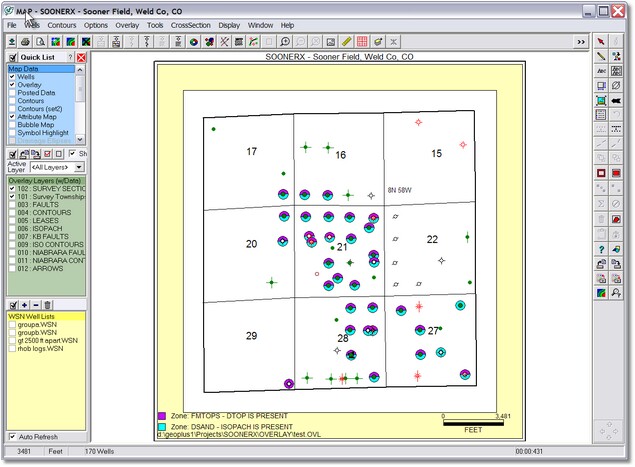
5) Since the 9-section polygon is saved in a "boundary polygon" (.PLG) file, you may reload the boundary polygon at any time using the "Display>Set Limits Using Boundary Polygon..." option
6) The outline of the boundary polygon is drawn using the color settings under "Display>Colors" and item called "Map Boundary Polygon"
ALTERNATE METHOD: Drawing a polygon and using it as a "boundary polygon"
1) Original map showing drawn polygon area (red dashed line)
2) Select the polygon and use the Overlay menu to save the polygon to a boundary polygon file.
3) Load the boundary polygon file using the "Display>Set Limits Using Boundary Polygon..." option
Note - you'll want to turn off the original polygon so it is not partially clipped by the boundary polygon.
|