Create log models consisting of simple blocked sections that may be useful when modelling complex, tuned geology using the Model Builder Wizard. Also block sections of existing logs using Log Editor so that GeoSyn, working within the highlighted zone, applies the mean, median, or RMS value between two tops to each set of tops.
Separate procedures for each appear below.
To create blocked log models:
1. From the File menu, select Import > Make a blocked log well.
An informational dialog box opens.
2. Click Next.
The Description and Output Options
dialog box opens. Well Description and Output Options.svg)
3. Type any label changes for the log, specify depth and measurement details, and whether to write the blocked log to an LAS file or display it in a synthetic, and then click Next.
The Create New Layers and Logs
dialog box opens. Depth Layer and Log Creation.svg)
4. To define the zone of interest, beside the Layers label, click Add and then select the newly added cell in the Layer column and type the name of the first formation top in the Edit box. Click the adjacent cell in the Depth column and type the corresponding kelly bushing depth in the Edit box.
5. In the Layers pane, click Add to insert a row below the formation just added then complete the above steps for the inserted row.
6. Beside the Logs label, click Add to display the Select from List dialog box and select the type of log(s) to create for the zone of interest defined above and click OK to return to the Blocked Log Wizard dialog box.
7. Click Apply.
The blocked log appears in your synthetic.
To block portions of existing logs using Log Editor:
1. From the Edit menu, select Log editing ( ).
).
OR
Right-click the log and select Log editing.
The Log Editor
dialog box opens.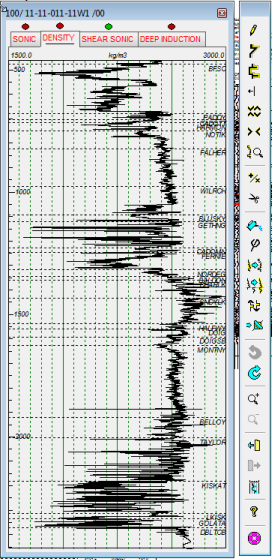
2. In the toolbar
beside the Log Editor, click the Blocking
tool ( ).
).
The Log Blocking
dialog box opens.
3. Select the algorithm used to derive a constant value, which can be used across the log or to the zone between shallowest and deepest tops within your selection. GeoSyn automatically connects your selection to the nearest top.
4. Select the log(s) to block. CTRL+CLICK or SHIFT+CLICK for multiple selection.
5. Do one of the following:
Drag the cursor ( ) on the Log Editor log display pane to select a range to
block.
) on the Log Editor log display pane to select a range to
block.
Type values in the Depth range KB pane for the start and stop depth and click Update
Click either Top or Bottom to accept the absolute depth from the log or click All to accept both.
Click Depths from tops to display the Depth Range from Tops dialog box and then select the formation tops that signify your zone of interest from the drop-down lists and click OK.
6. Click Apply.