Raster Image Calibration |
|
The Raster Image Calibration tool adds depth calibrations to raster logs, straightens images, adds pay intervals, and creates digital logs. To open the Raster Image Calibration tool, select the
An Introduction to Image GroupsThe Cross Section and Log Correlation Modules display log images for a given well by referencing group names. For example, you might display images from the "GR" group in track 1 and images from the "Default" group in track 2. Petra predefines one group called the "Default" group. You can create as many groups as you have different images for a well. Groups names should normally have something to do with either the log curves they contain or the sample rate of the log, i.e., "5-inch logs". Each well can have only one image in a group. However, there is no limit on the number of different groups you can define. Therefore, if you have 5 different log images for a well, you must have 5 different image groups defined. The well will have 1 image in each of the 5 groups. The Petra database has a table containing a reference to log image calibrations. Each record in the table contains a well sequence number (WSN), image group number (IGN) and a path to the calibration file. This scheme allows an unlimited number of images to be referenced for any given well. Assign A Group Name Select the appropriate image group from the "Image Group Name" drop-down list or add a new group using the "Group>Add or Delete Groups..." menu. Assign A Well If a well has not been assigned, choose the "Well>Assign Image To Well" menu to select the well from a list. The image and calibration file will be associated with this well. Open an Image File Use the "File>Open Image" menu item and select the log image file. It will be loaded into memory and displayed on the screen.
Raster Image Calibration Toolbar
Getting StartedAdding Depth Calibration Points, Edges, Header/Footer/Scales Advanced Tools
|
 button on the Rasters tab. This opens the Calibrate Log Image screen. Notice that the wells UWI and name appear on the screen.
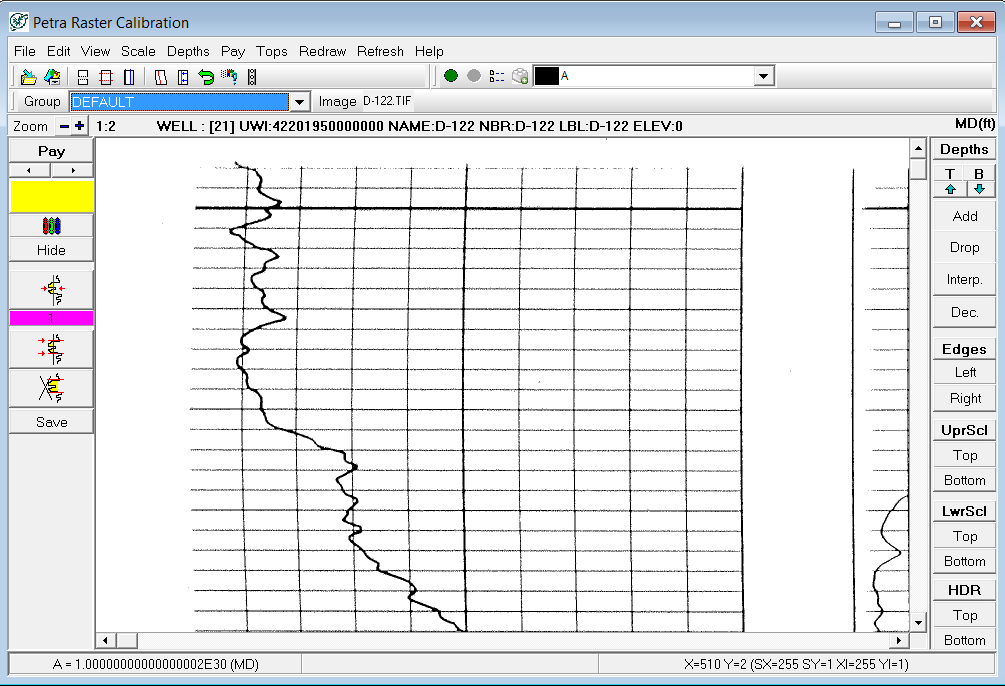
 - The "Save Calibration As" overwrites the calibration file (*.LIC) for the current raster image. This will save the depth calibration points, headers and footers, and scale markers set on the raster image to a specific "group name."
 - The "Save Image As" saves the changes made to the image file (such as
  - The "Cut Out Section" tool removes a portion of the image file and splices the image back together. This can be useful for removing extraneous portions of the log. For more information, see
  - The "Crop At Depths" tool removes the image file beyond the uppermost and lowermost depth calibration points, header, footer, or scale markers. For more information, see
  - The "Crop At Edges" tool removes the image file beyond the left and right most track edge. For more information, see
  - The "Add Straight Edge" button adds a straight edge for
  - This "Straighten Image" tool uses the straight edge to
  - This tool rotates the entire image. For more information, see
  - The "Show Image Details" tool displays more detailed image about the image file, including bits/pixel and image size.
 - This button opens the